Hey Doug,
Sorry for the delayed response.
Both options will work. but i would suggest using the push in toilet flange. Much easier and can be installed after tile is placed, which is ideal for a toilet seal.
They work great on copper as well. They come in 3″ and 4″ sizes
Here’s the 3″ – https://amzn.to/2shpgGO
and a 4″ with the tightening bolts – https://amzn.to/2shfIfi
Let us know how you made out
steve
Hey Doug,
Unfortunately, to be insured by schluters warranty you would have to use their caulk.
if your not worried about that, then yes you can definitely use another polyurethane sealant and be fine.
Sika flex is fairly reasonable at the big box stores
https://www.homedepot.com/p/Sikaflex-10-1-fl-oz-White-Construction-Sealant-90618/202529347
Silicon would be probably be fine if its not exposed to where the tile will be installed. Thinset will not bond to silicon, but will to most polyurethane sealant
Actually Ward,
Whats the area you have left there in the shower area?
Looking at your shower head location…..It might be best to slope that whole area.
A 4-1 sand mix could be used to fill that area. Shouldn’t be too hard to screed if you go off the shower pan.
4-1 can be used from as little at 3/8″
http://www.mapei.com/public/US/products/1005573-4to1-mud-bed-mix-en.pdf
Then after that sets, you could use the wedi subliner to go over it and overlap pan.
http://www.masterwholesale.com/wedi-subliner-dry.html
And if you used the wedi extension, that would get you even closer to wall.
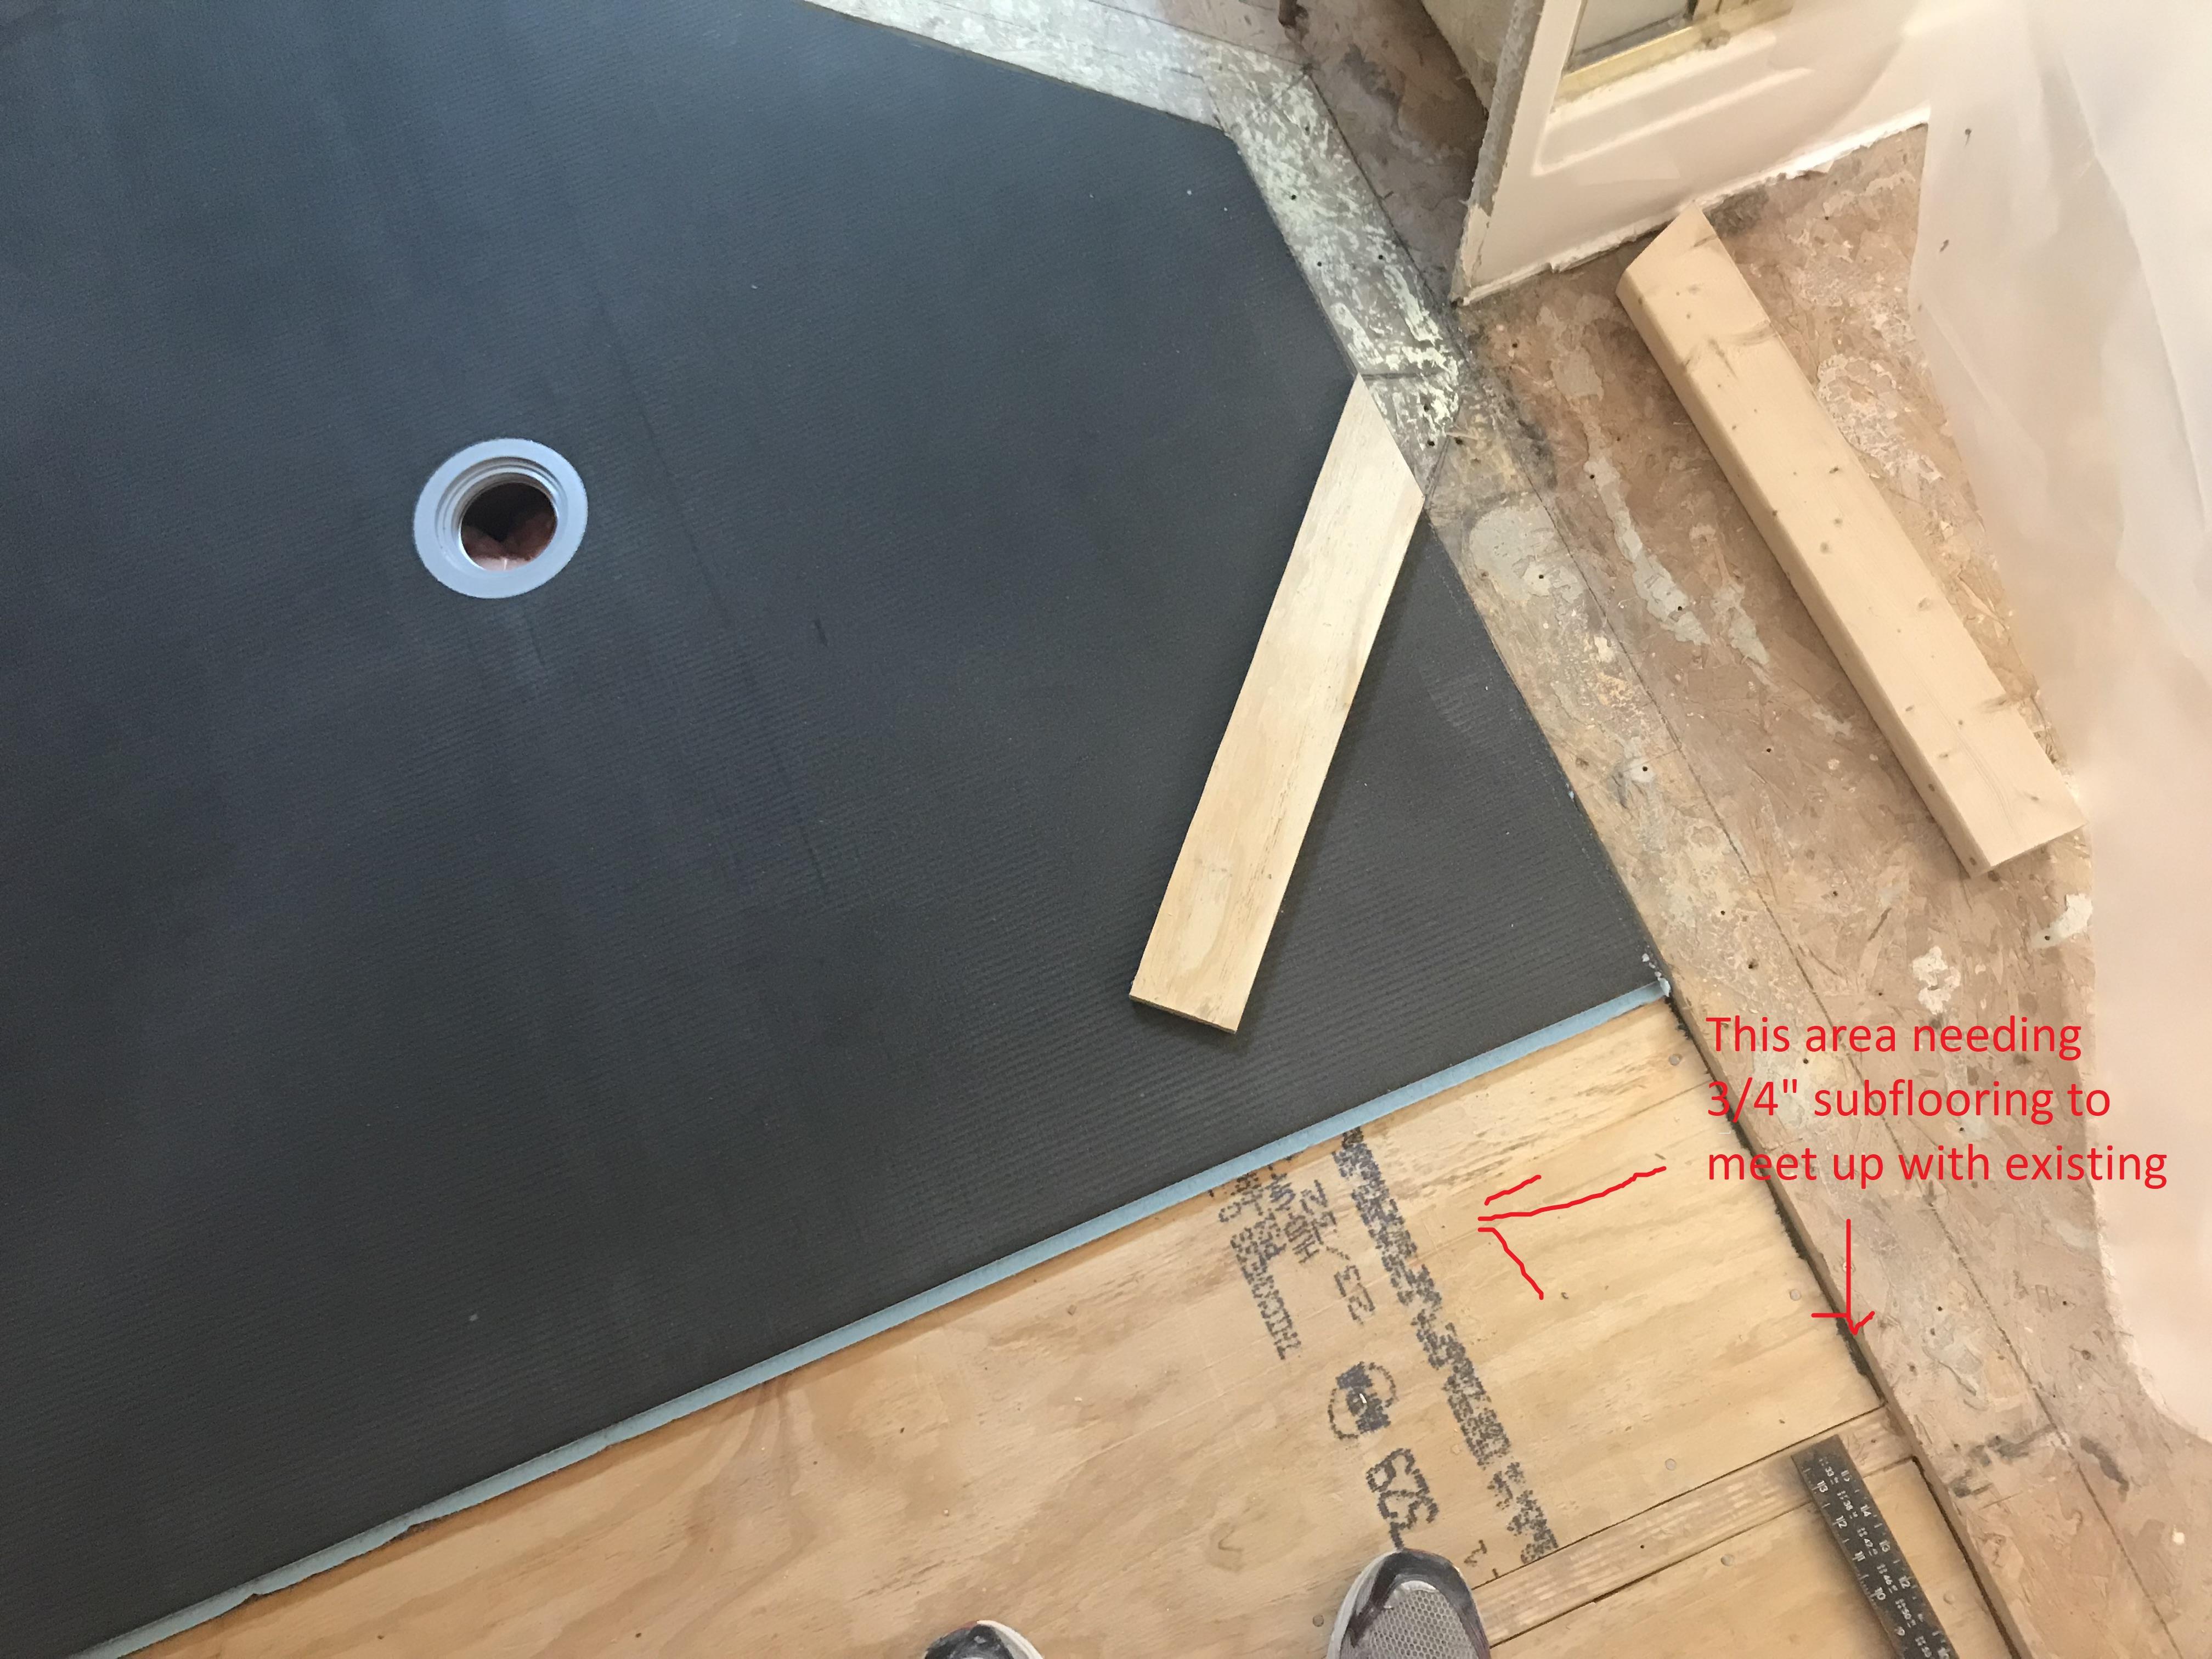
It looks like you have the recessed subfloor throughout the entire shower area. Are you trying to slope the rest of that area?
They do make a 1 foot wedi extension that could bring that area out
http://www.masterwholesale.com/wedi-fundo-ext2.html
But I think 60″ of shower base is enough area that very little water will extend past that. You could make sure you have your floor tile slightly sloped when installing. That is pretty easy to do if you plan to use a large tile.
cool, looks good. And I hear ya….a lot of money for foam!
So are you going to fill the the rest of the shower area with 3/4″ sub flooring to get even with the rest of the subfloor?
And definitely use the subliner over the strata mat and pan.
Its nice to buy enough to overlap each portion 6″ or so
I really don’t think you will need the backer board in the rest of the bathroom. By the time you thinset that down…you will be at least 5/16″. making the overall height in bath that much higher than your 3/4″ outside flooring
Unless I’m misunderstanding the situation
thanks
steve
Hey Ward
Looks like some good progress!
So if you are meeting up to a 3/4″ finished floor outside of bath
the strata mat and tile will do just that (give or take an 1/8″)
The thickness should be 1/4″ stratmat +1/4″ thinset + 3/8″ porcelain tile = 7/8″ (give or take an 1/8″ on thinset thickness)
Are you installing a large format tile (larger than 12″ x 12″) I suggest using at least a 1/4″ x 3/8″ square notched trowel and back buttering tile.
Now for the wedi pan area the the stratmat thickness, you will want to feather thinset and apply the wedi subliner to waterproof the transitition. This will result in a little bit of a steeper slope at the transition…..but that is usually a helpful thing in keep water flowing into shower
I always recommend with a curbless shower, to do all the main floor first and then the shower pan tile. This way you can build up the thinset required to get the mosaic floor tile to meet up even with the main floor tile (about impossible if you started with the shower floor)
What do you mean by trim?
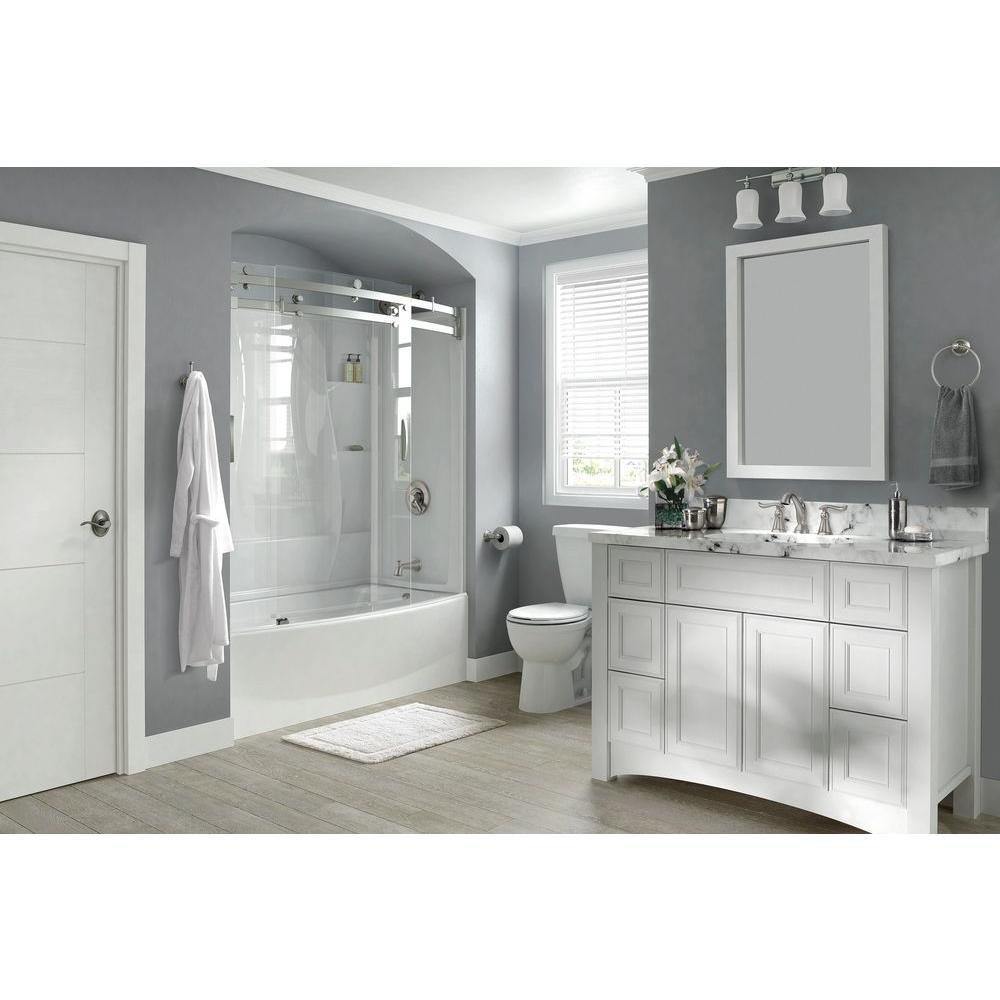
Won’t you be installing drywall and finishing to the surround?
Similar to what they have in stock photo on surround. (pretty cool shower doors for that model!)
Hey Steve,
I hear your frustration! There’s so many options out there…
Everything seems to contain more and more plastic these days, and it is tough to decipher what you are buying and if the handle or trim is plastic
I think the reviews of the peoples experience are super important and can be quite helpful
Price obviously can be a predictor of what you get.
I personally hate anything plastic with the escutcheon plates and hardware, they tend to look & feel cheap.
I’ve always liked delta. Always a fairly easy installation, the universal valve has pretty much been exactly the same since I started doing bathrooms 18 years ago and they are reasonable on price. Can’t say I’ve ever had an issue with one working properly. The shower heads are where I rely on reviews for the experience with that. They keep coming out with newer models and designs of that.
A site that I use often for browsing through faucets and order a lot off of (actually the only place I order from….)
https://www.faucetdirect.com/shower-faucets/c57?f17782=tub%20and%20shower
In the specifications portion of each product, it will have a tab saying “Material” then either plastic or metal. This is in reference what its primarily constructed of.
And Flow rate is another variable to look out. Typically the higher the flow rate the better the showering experience. Most are capped at 2.5 gallons on showerheads though
If budget is not a concern….I really liked the hansgrohe push button shower. It had a great flow rate and was just a fun feature. Hansgrohe has some really nice (even though it was primarily plastic…..)
video on it (shows the faucet function at the 9 minute mark)
So with 1/4″ plywood, you have to be careful the kind that you use. I recommend the sureply brand of 1/4″ plywood because it is designed for flooring and tile. https://www.lowes.com/pd/SurePly-1-4-in-Whitewood-Plywood-Application-as-4-x-8/50124674
A regular sheet of 1/4″ plywood can be problematic. I have seen issues where after tiling over the regular 1/4″ plywood, areas can lift and create cracked tile. The shrinkage of the thinset can peal or pull the plywood from the original subfloor.
The other option is to go to a 3/8″ cdx plywood. This has enough structure to avoid this issue https://www.lowes.com/pd/Plytanium-3-8-CAT-PS1-09-Pine-Plywood-Sheathing-Application-as-4-x-8/1000068943
And if you can fix and get that plywood down to the same level…going over top will be no problem
Okay good!
So unfortunately ditra and tile will not make up that much
I assume you are installing a porcelain tile that will be at most 3/8″
So with ditra and thinset you’ll get another 1/4″
And overall height would be about 5/8″
My suggestion would be to install 1/4″ backer board, then ditra and tile
Not much else you can do with that much of a gap
Hopefully you can afford the additional height and not make the transition to your other flooring too high or awkward
Yes, you will need to fix the hole after taking off the ledger board
Easiest way is to use Kerdi-fix
but you could also thinset a piece of kerdi band over it as well
I know its another tool to buy……But a laser level would allow you to shoot a level line across the top of the first row of tile and allow you to cut and adjust the tile to the laser line, rather than start on the second row of tile
Both ways work well
Bosch laser
Do you have mortar under the tub for support? It would definitely require it in this situation. If only supported by shims like that, you will have problems with the tub flexing and moving down the road. Caulk joints will constantly need redone, and most likely you will hear creaking noises when walking in
Just want to double check
I would definitely recommend centering the boxed above the sinks. Most light fixtures these days only have a 4″ back plate on them……I think the days with the long bar type of lights where the wire can pretty much come in anywhere are out….
And with the space being 59″ after drywall is installed is a pretty common problem…..and does make it tough finding vanities that fit.
There are a lot of 60″ vanities that the actual vanity is 59″
I sometimes have to plane down a side of the cabinet to fit in place.
This vanity is 59″
https://www.build.com/wyndham-collection-wc-1414-60-dbl-um-van/s1228084?uid=2941505
Now if you get a pre-made top with it….this will require cutting it down. This can be a challenge if the walls are not even all the way across. You could always hire a granite or quartz place to custom make a top for you
In this situation
I would actually just go with 3/4″ (minimum 5/8″) and allow the backerboard meet the tub deck. this will make it easier to waterproof and make it so that you don’t have to fill the tub gap between backer and flange
Simply apply the poly sealant to tub deck before sliding panels down
Check with a level on the studs and an see if they are all inline with one another.
I’m thinking that narrowing down the furring size will leave that middle stud set behind the others. The walls are probable just out of square, and a 1/4″ really won’t be noticed, but a non-straight or bowing wall will cause difficulties with tiling
Great question Kayse,
And the answer is yes. You will need to fur out all the studs on wall that butt up to pan
This is why it is best to have all the drywall removed entirely around the shower area. Otherwise you would have a 1/4″,or what ever sized furring strip size, unevenness from drywall to kerdi board
I personally like buying a piece of plywood and rip down 2″ strips to nail or screw over studs. Its usually the cheapest way to go