How should you start tiling a shower/tub combo?
Today we’re going to share a lot of tips with you and in the end you’ll be more confident to start setting tile in your bathroom.
Always tile the back wall first in a shower/tub so that you can hide the grout joints on the sides.
We’re going to dive into the details.
Here’s your supply list:
Place 1/16” spacers on the tub for expansion and contraction purposes.
Bathtubs, believe it or not, will expand when filled with water.
Leaving a 1/16″ gap between the tub and tile will prevent the tile from cracking when the tub expands.
Plus, a 1/16″ gap allows the caulk to properly fill the space and waterproof the transition between the tile and tub or shower.
Place the 1/16″ horseshoe shim on tub and measure up to the laser level.
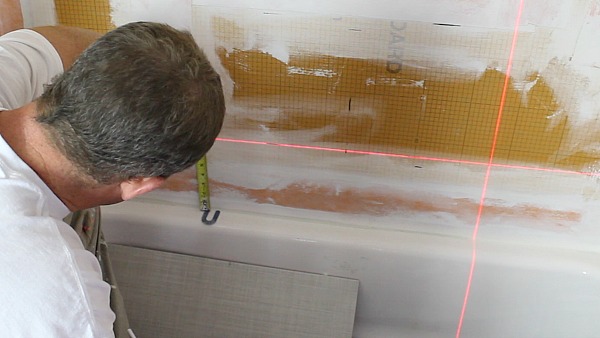
Keep in mind that at this point you’ve determined what size tile the first row should be.
Cut first tile to size with a tile cutter or wet saw.
Ishii makes a large tile cutter called the Big Clinker that we love.
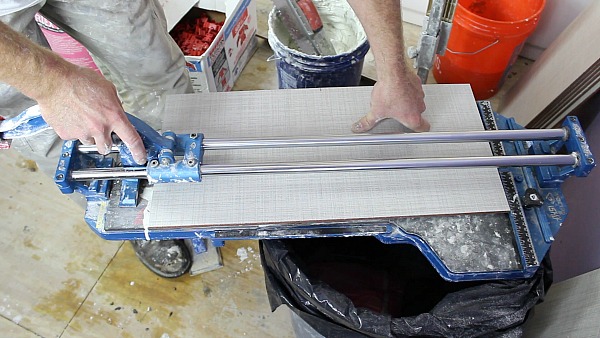
You can cut tiles up to 24″ long. It’s not cheap but worth renting or even buying and selling back on Craigslist.
Line up marks with Ishii’s cutting wheel and make the cut.
You’ll see Steve do this in the videos. Follow his guidance and copy his technique.
There are two types of thin-set we like: Ardex X 77 and Mapei’s Kerabond.
Ardex’s X 77 is considered one of the best thin-sets for vertical tile because of it’s bond strength.
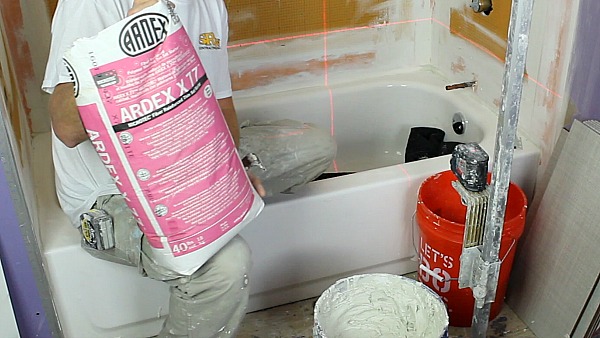
We use it exclusively for large format tiles on the wall because the tiles stay put.
Follow the directions on the thin-set bag for proper mixing and trowel size recommendations.
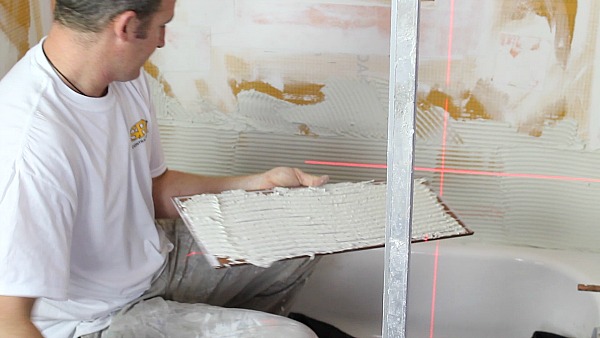
Apply thin-set on the tub surround to cover just the area where the first row will go.
Make all the thin-set grooves in the same horizontal direction on the wall.
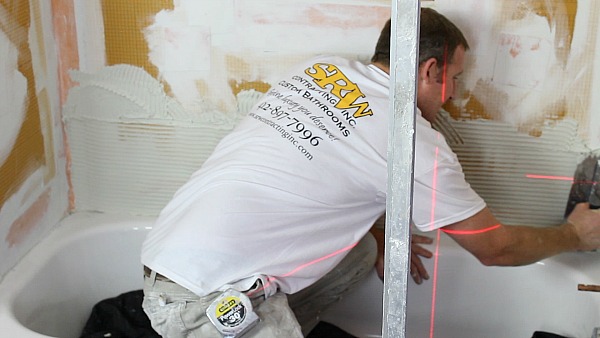
Back butter each tile and run the thin-set grooves the same directions as the wall.
The back of the tile should be 90-100% covered in thin-set.
This is perhaps the most important step that some folks forget. Backbuttering tiles ensures a good bond with the wall thin-set.
Embed tile into the thin-set on wall.
Clean the thin-set off the tile surface with a sponge and water.
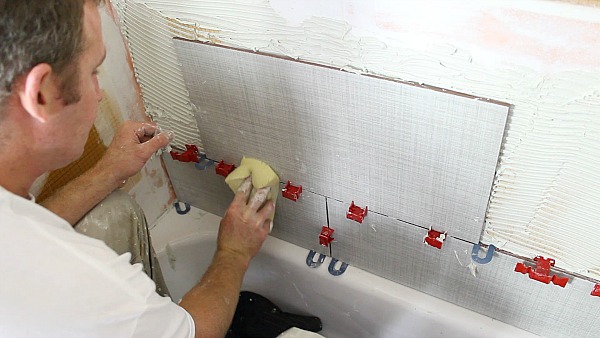
It’s a good idea to do this cleaning process as you tile the wall.
Double check your tile measurements before cutting the next tile.
Uneven and wonky grout joints make any tile job look terrible.
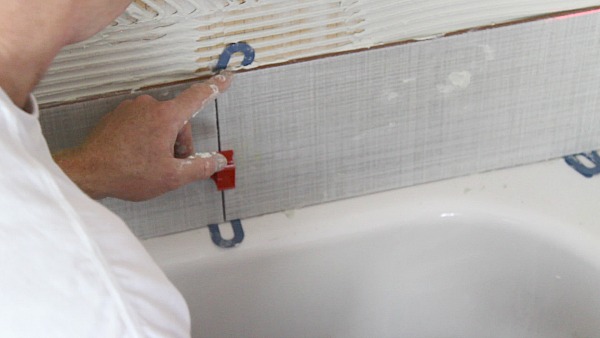
One way to avoid this is to use a tile leveling system.
We like the Tuscan SeamClip leveling system because of it’s simplicity and quick learning curve.
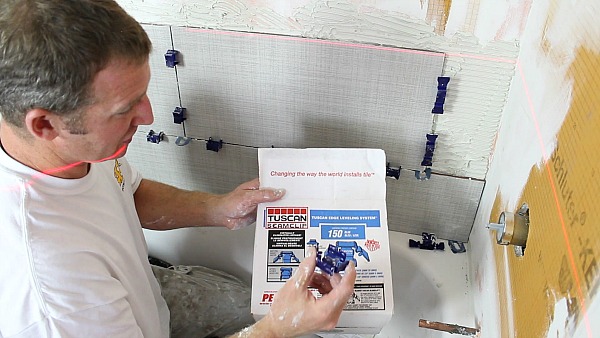
Seriously, anyone can learn how to use SeamClips in 5 seconds.
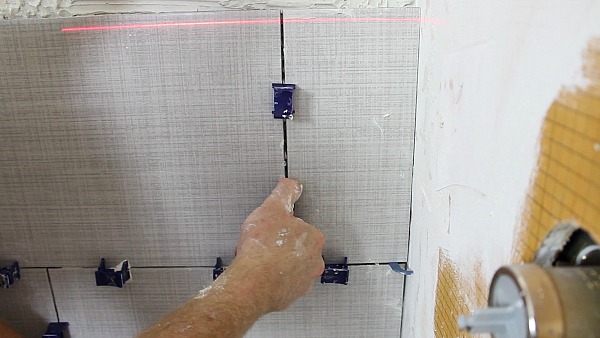
Place a SeamClip in the center of the vertical grout joint and compress it after you adhere the second adjacent tile.
We recommend determining the size and quantity of SeamClips you’ll need for the tile before beginning.
Each SeamClip provides a 1/32″ grout joint but the industry minimum is 1/16″ which means you’ll need to place a horseshoe shim between tiles.
Or if you trust your judgement you an simply eyeball the grout joint.
Tuscan Leveling System makes the SeamClips and you can read their FAQs right here.
Wedge 1/16” horseshoe shims behind tiles to eliminate any minor lippage.
Reference the tile direction before embedding in the thin-set. Each tile has a direction, usually this is indicated by an arrow or some other marking on the back of the tile.
Scrape out excess thin-set between tiles with the carpet knife but be careful not to puncture your waterproofing.
Apply thin-set to next row on the wall and again, backbutter the tiles to ensure 90-100% coverage.
Setup all the SeamClips on the top of the first row of tile. We use 2 clips per 12” of tile.
And embed the next tile.
Continue to run the laser up the wall and line up successive rows.
You’ll find that having a laser level is far easier than a pencil mark on the waterproofing.
Leave a 1/16” gap at a minimum between the tile and side walls. This helps with expansion and contraction as well as the caulk joint.
Watch the video for all the details
Question 1: True or False, you should place spacers on the tub to set the first row of tile…True, this is mainly for expansion and contraction purposes.
Question 2: True or False, always tile the back wall of a tub surround first…True, do this so that grout joints between the side walls and main wall aren’t seen when looking straight into the tub…it’s a cleaner more professional look.
Question 3: How much extra tile, as a percentage, should you buy to account for mistakes and mishaps? 10-15% extra tile is a good rule of thumb.
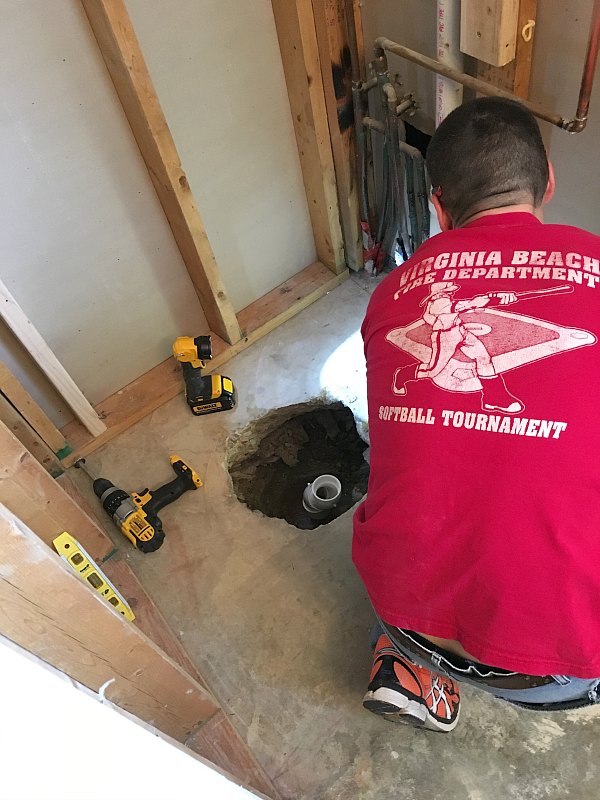
Steve and I enjoy before and after pictures from our Bathroom Repair Tutor members. Max is from Pittsburgh but was helping his son and daughter-in-law remodel their bathroom down in Virginia.
They started with a stand up shower.
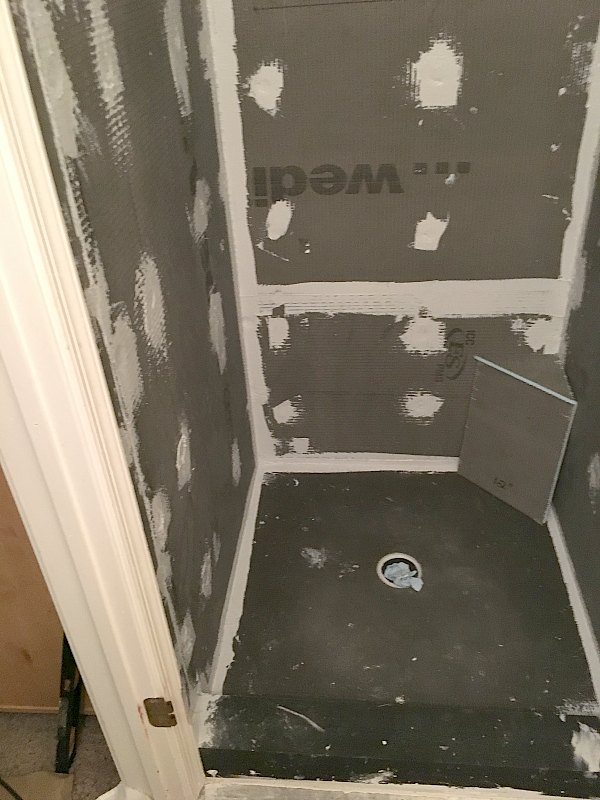
And waterproofed the shower floor and walls with Wedi – which by the way is very user friendly and not terribly expensive. Many professional bathroom remodelers use Wedi for clients because it has a great warranty, is fast to install, and 100% waterproof.
Then they tiled the shower pan and walls. I love their subway tiles and the mosaics on the floor.
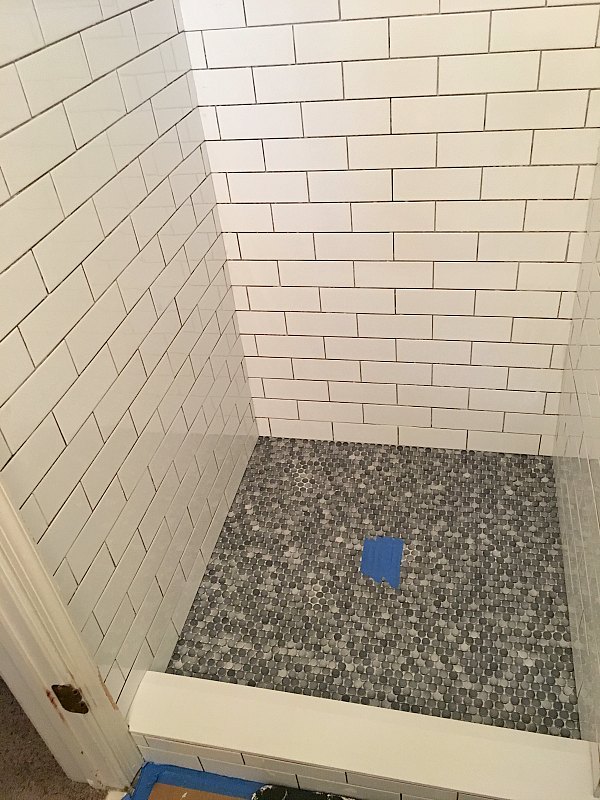
I’d love to have this shower in my house!!! Many thanks to Max for sharing his pictures with us. It’s pretty cool to see their shower get an amazing renovation.
The next lesson is going to show you how to tile inside a shower niche.
We’ll be sharing a lot of good advice.
If you’re doing a bathroom remodel and want to simplify the process enroll into the Bathroom Repair Tutor Video Library
We show how to build showers (Schluter, Wedi, Curbless, etc.), install tile, upgrade basement bathrooms, and more.
The extra guidance is invaluable
Cheers,

